Metrology

Controlling the geometry of the machine during the assembly process is a very demanding activity that can only be achieved by managing variation at each stage. Accurate dimensional control ensures that the exacting tolerances required for machine operation are achieved, and by the end of the machine assembly process metrologists will have recorded the exact as-built geometry of the machine—an invaluable source of information for future maintenance, modifications or revision.
All measurement tasks require a fixed reference base (or datum) from which measurements can be made and calculated. For large-volume metrology applications, the reference base typically takes the form of a survey network that consists of a collection of target "nests" and/or instrument stations that have known geometry and computed uncertainty.
The primary survey network for ITER was installed and measured in 2010, and now provides a precise and accurate datum reference for construction of the ITER buildings and subsequent survey networks that are added within the buildings themselves. The accuracy requirements for each network vary according to the alignment tasks for which they are designed.
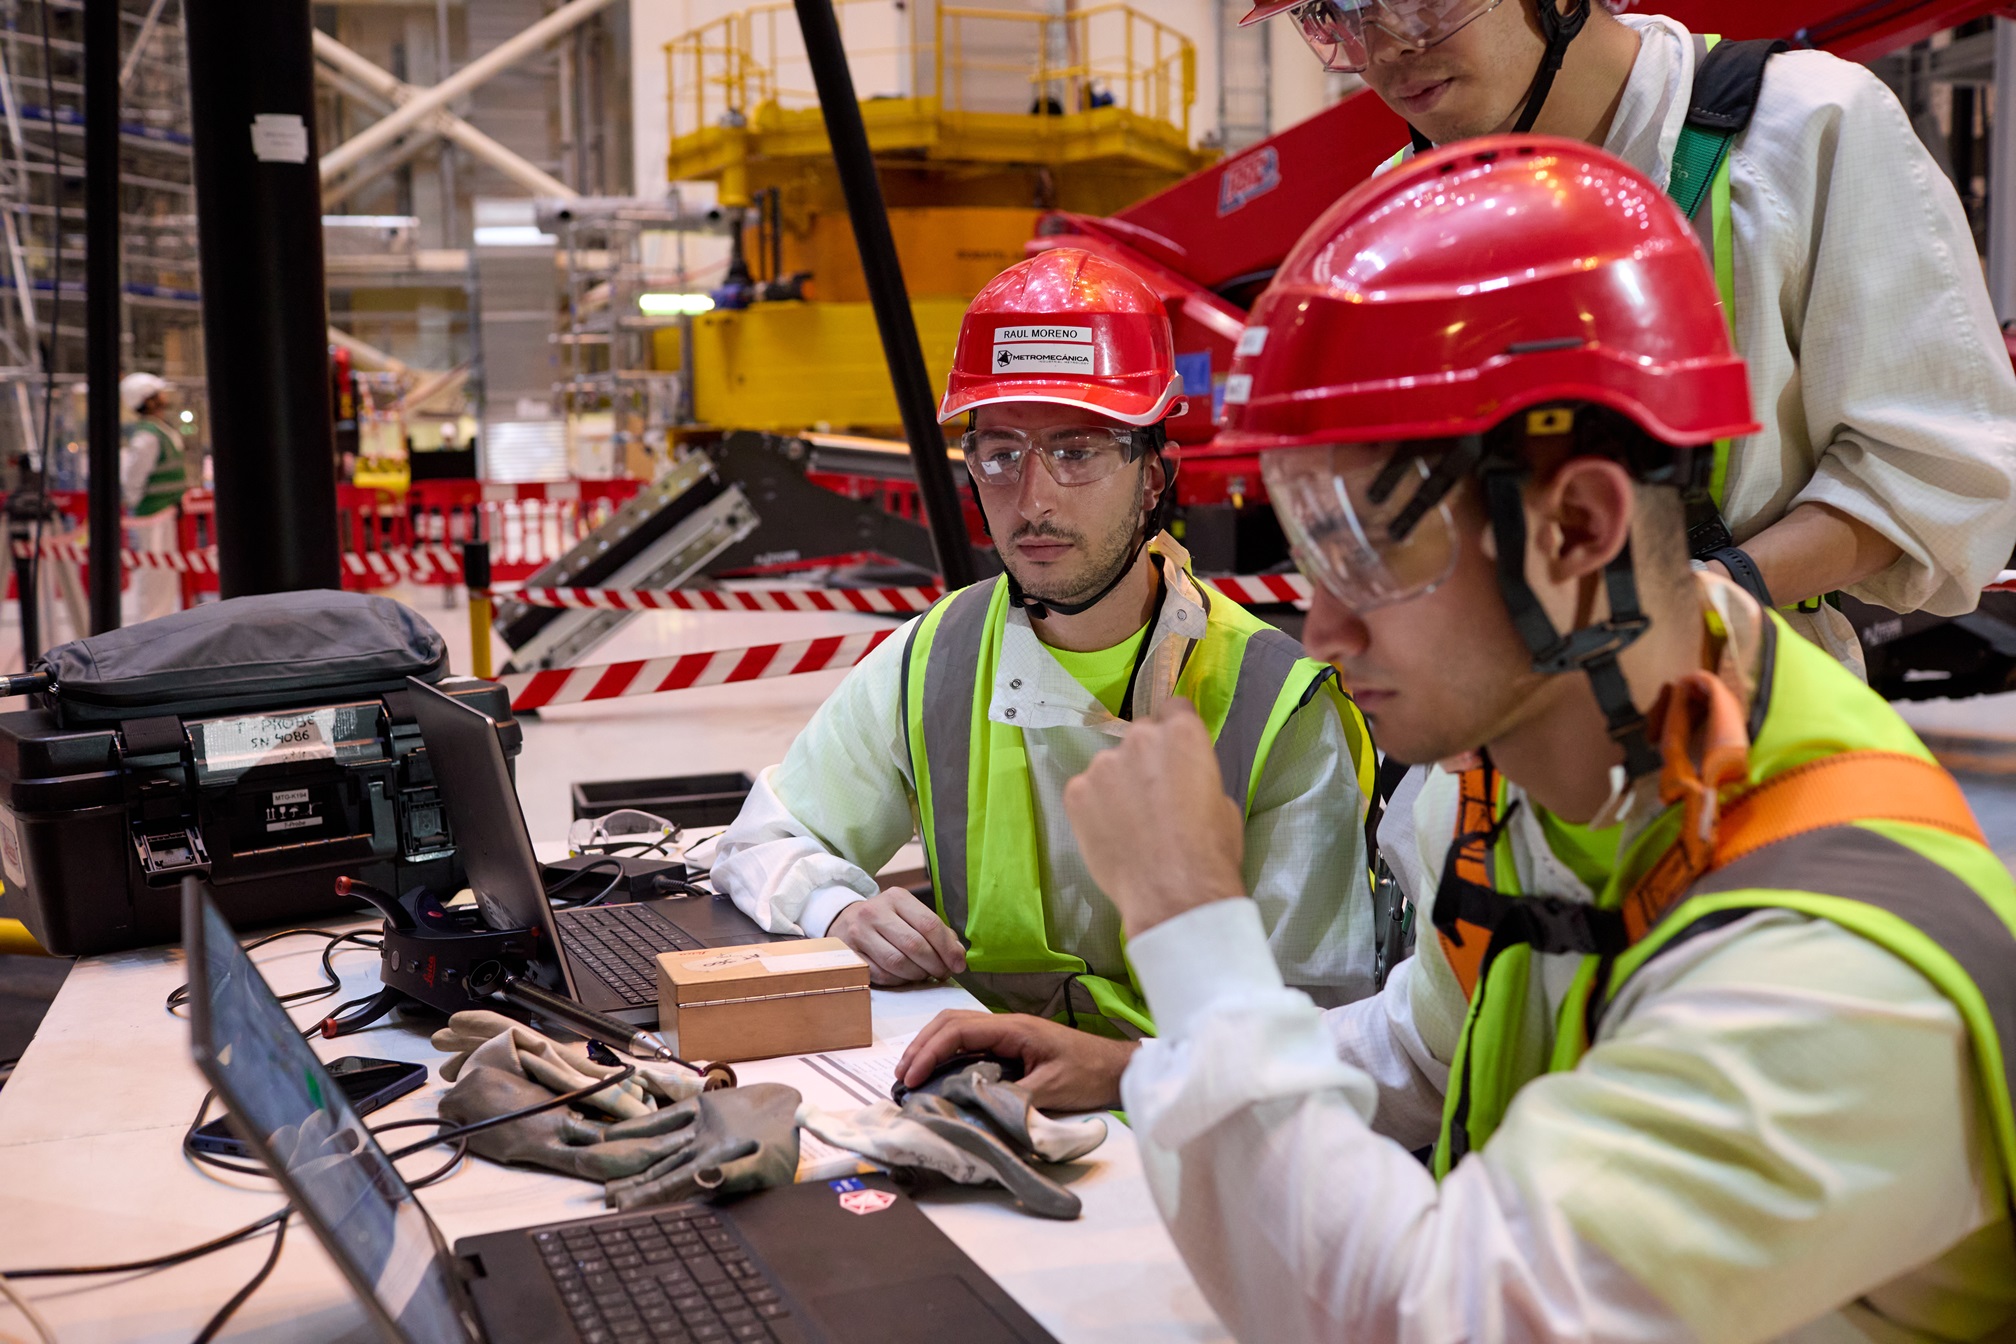
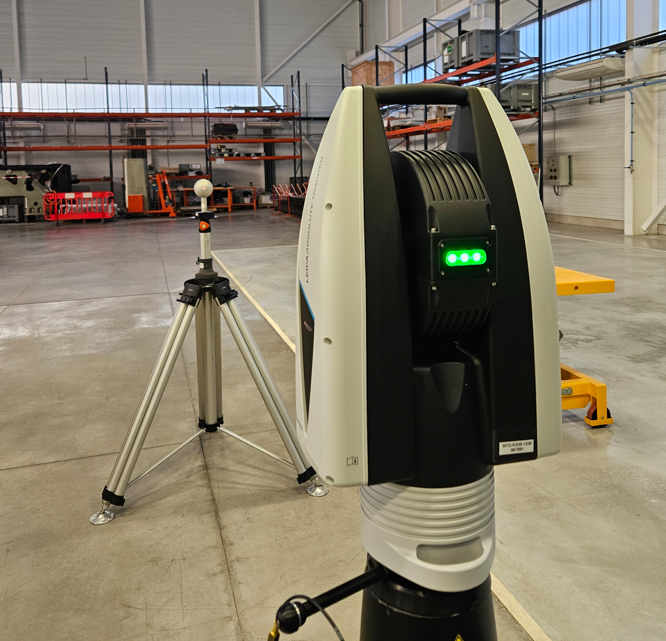
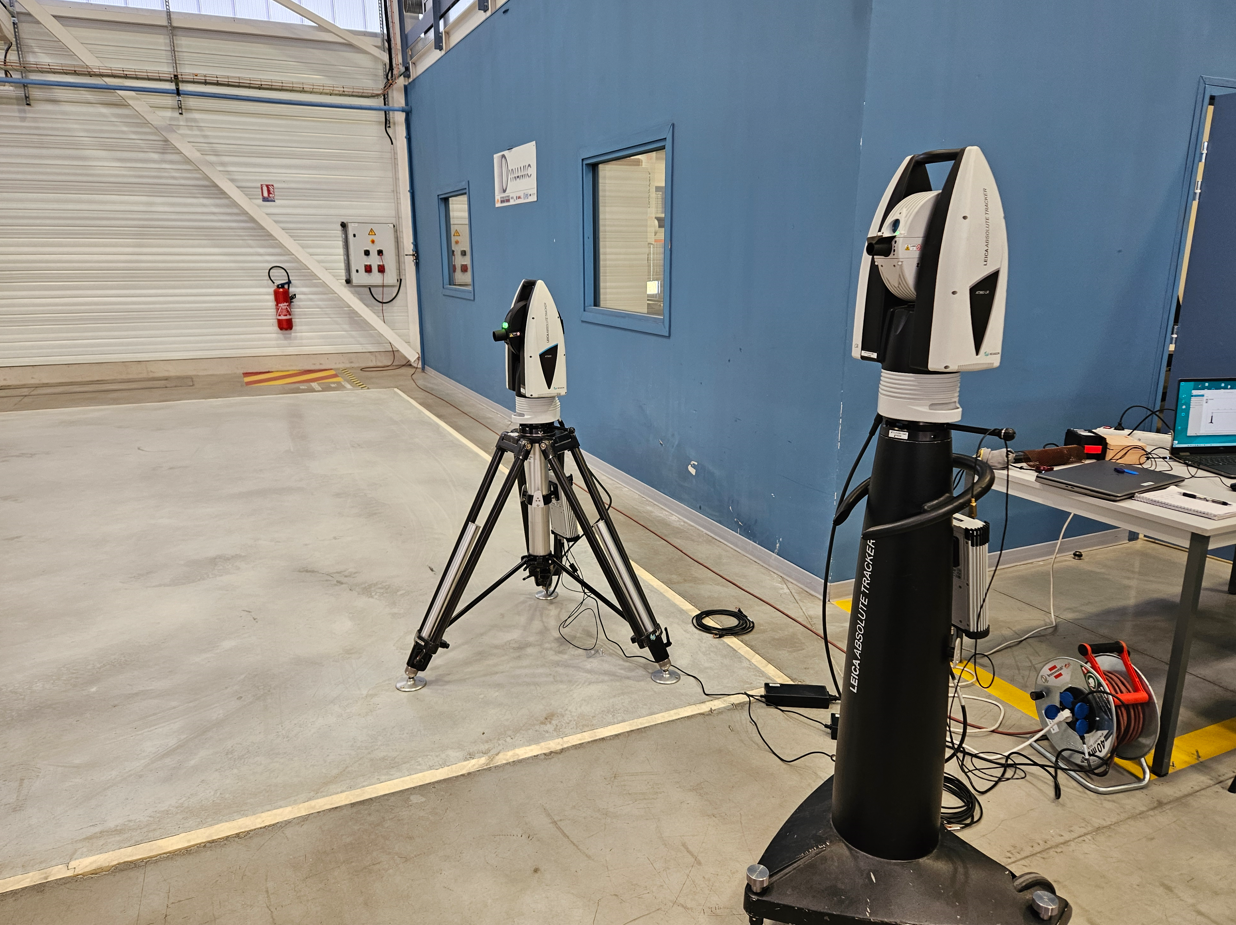
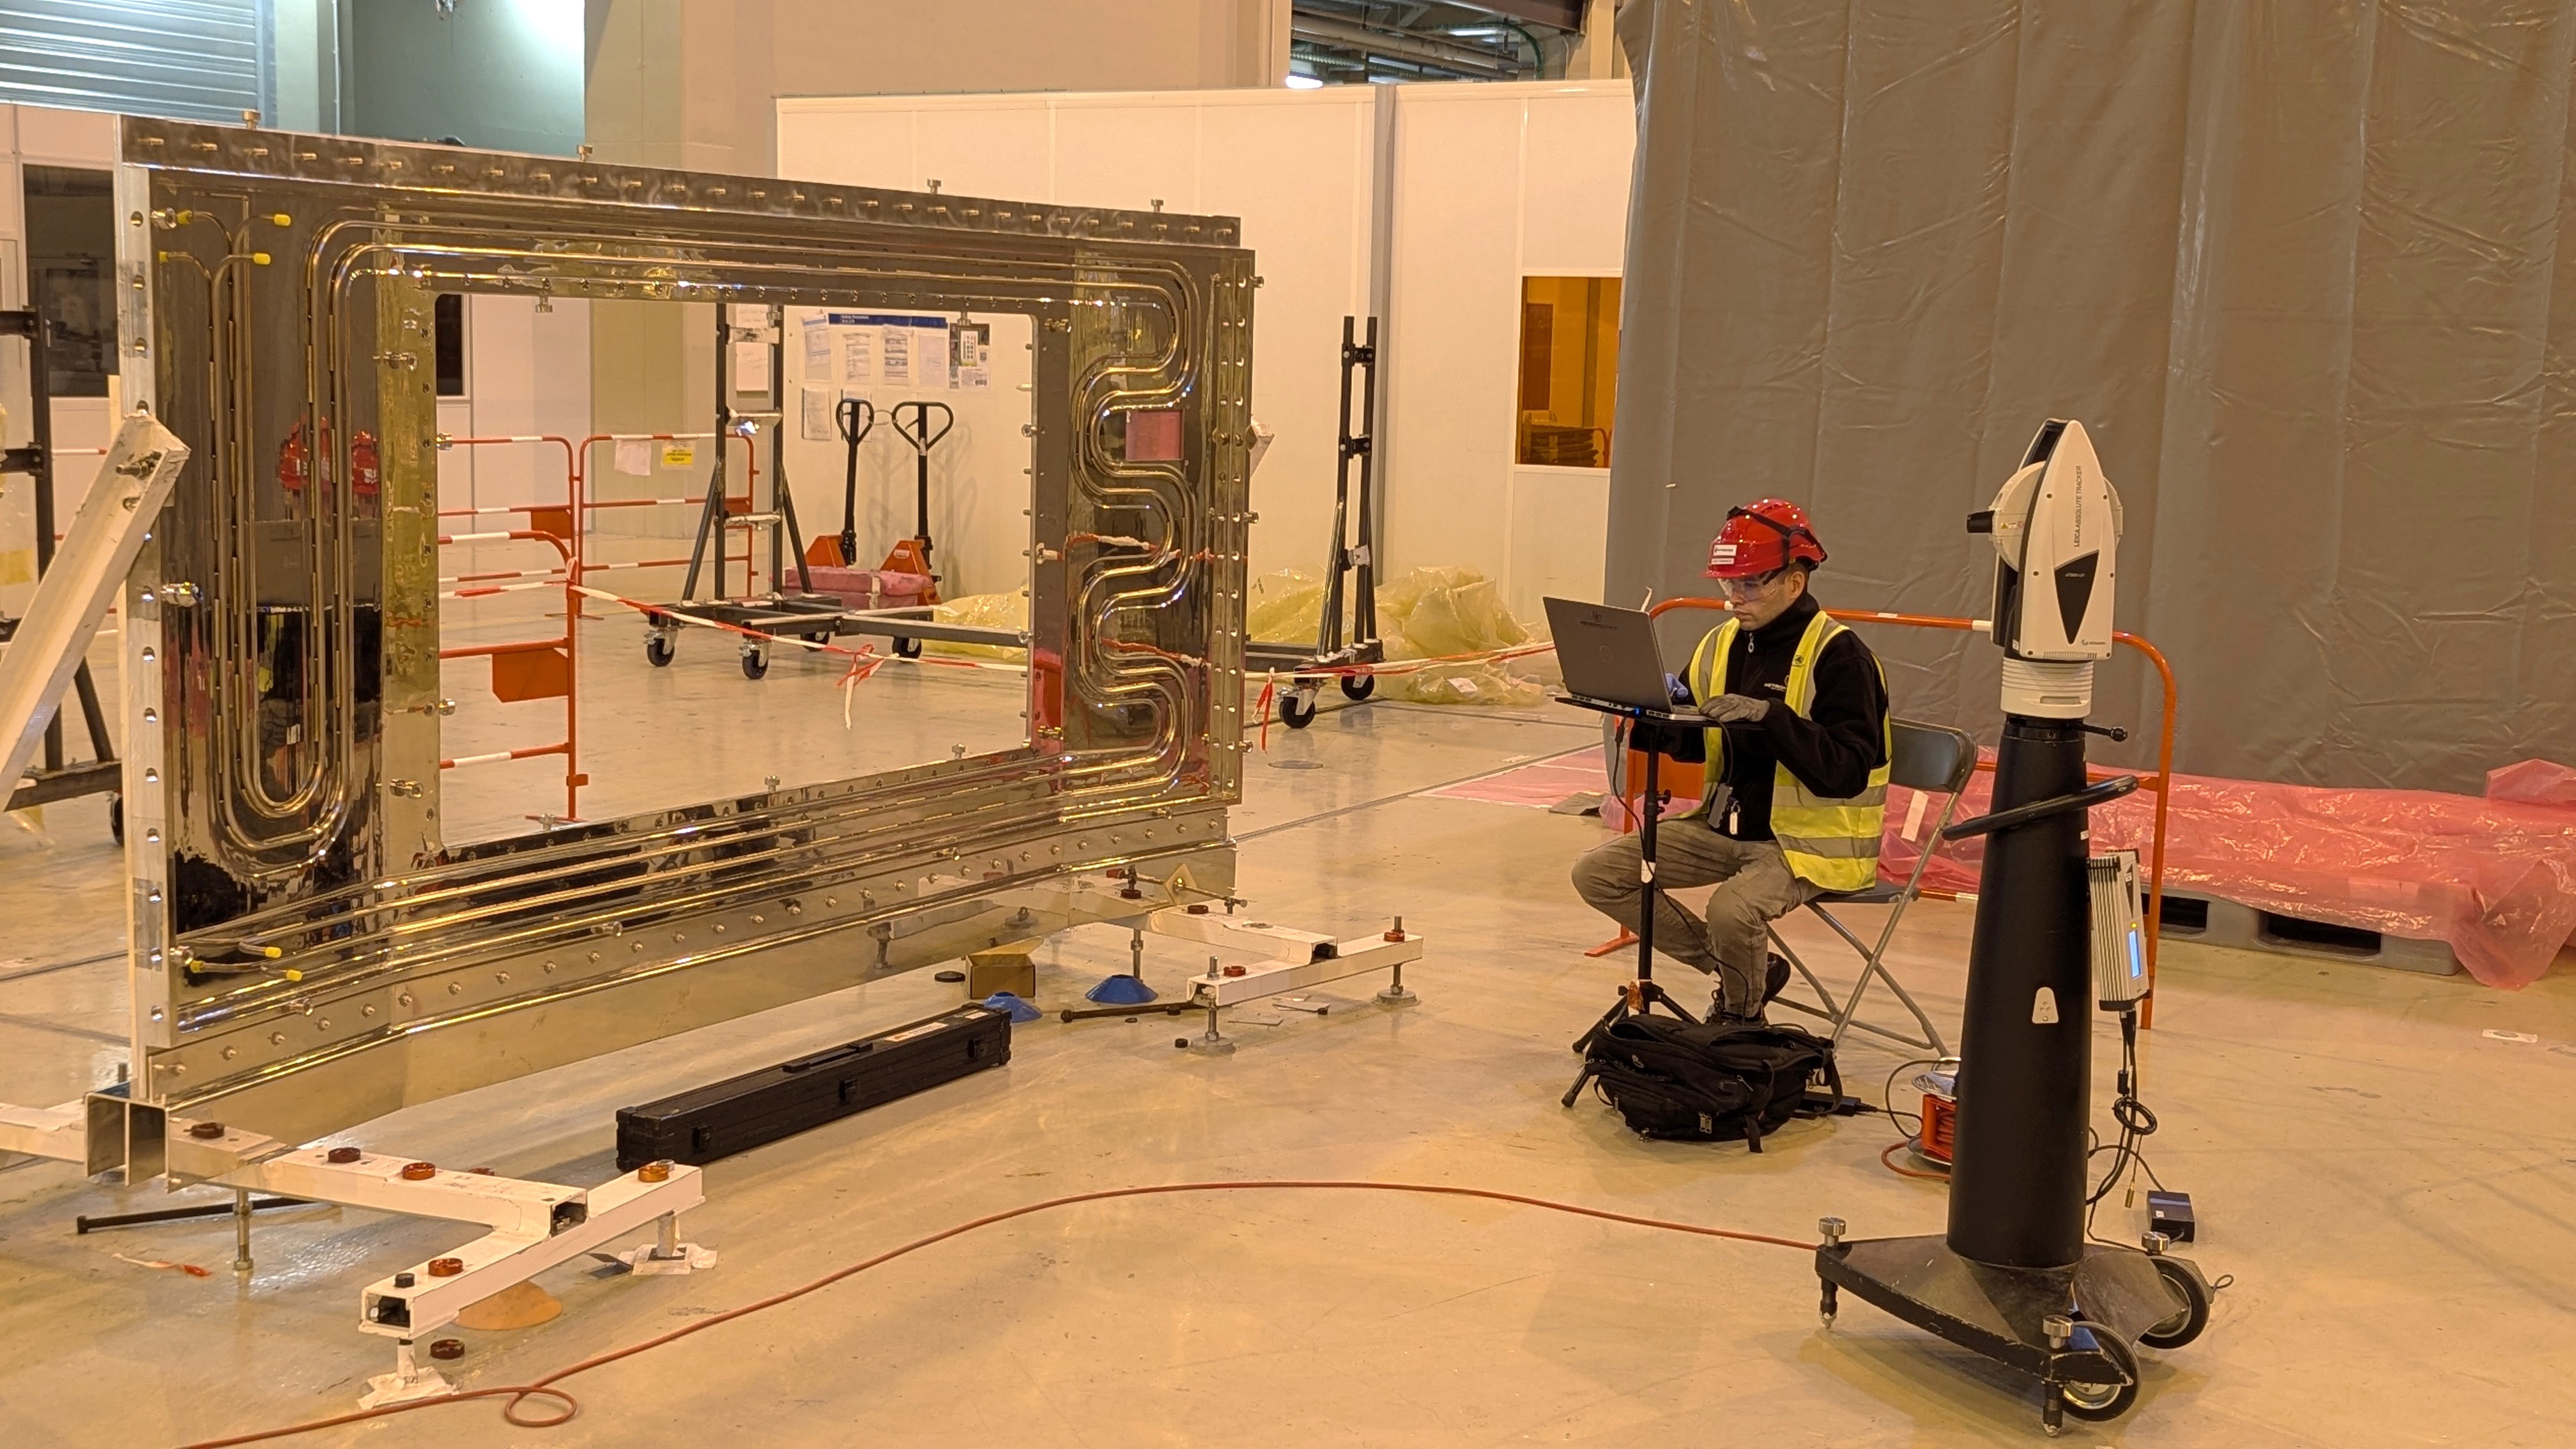
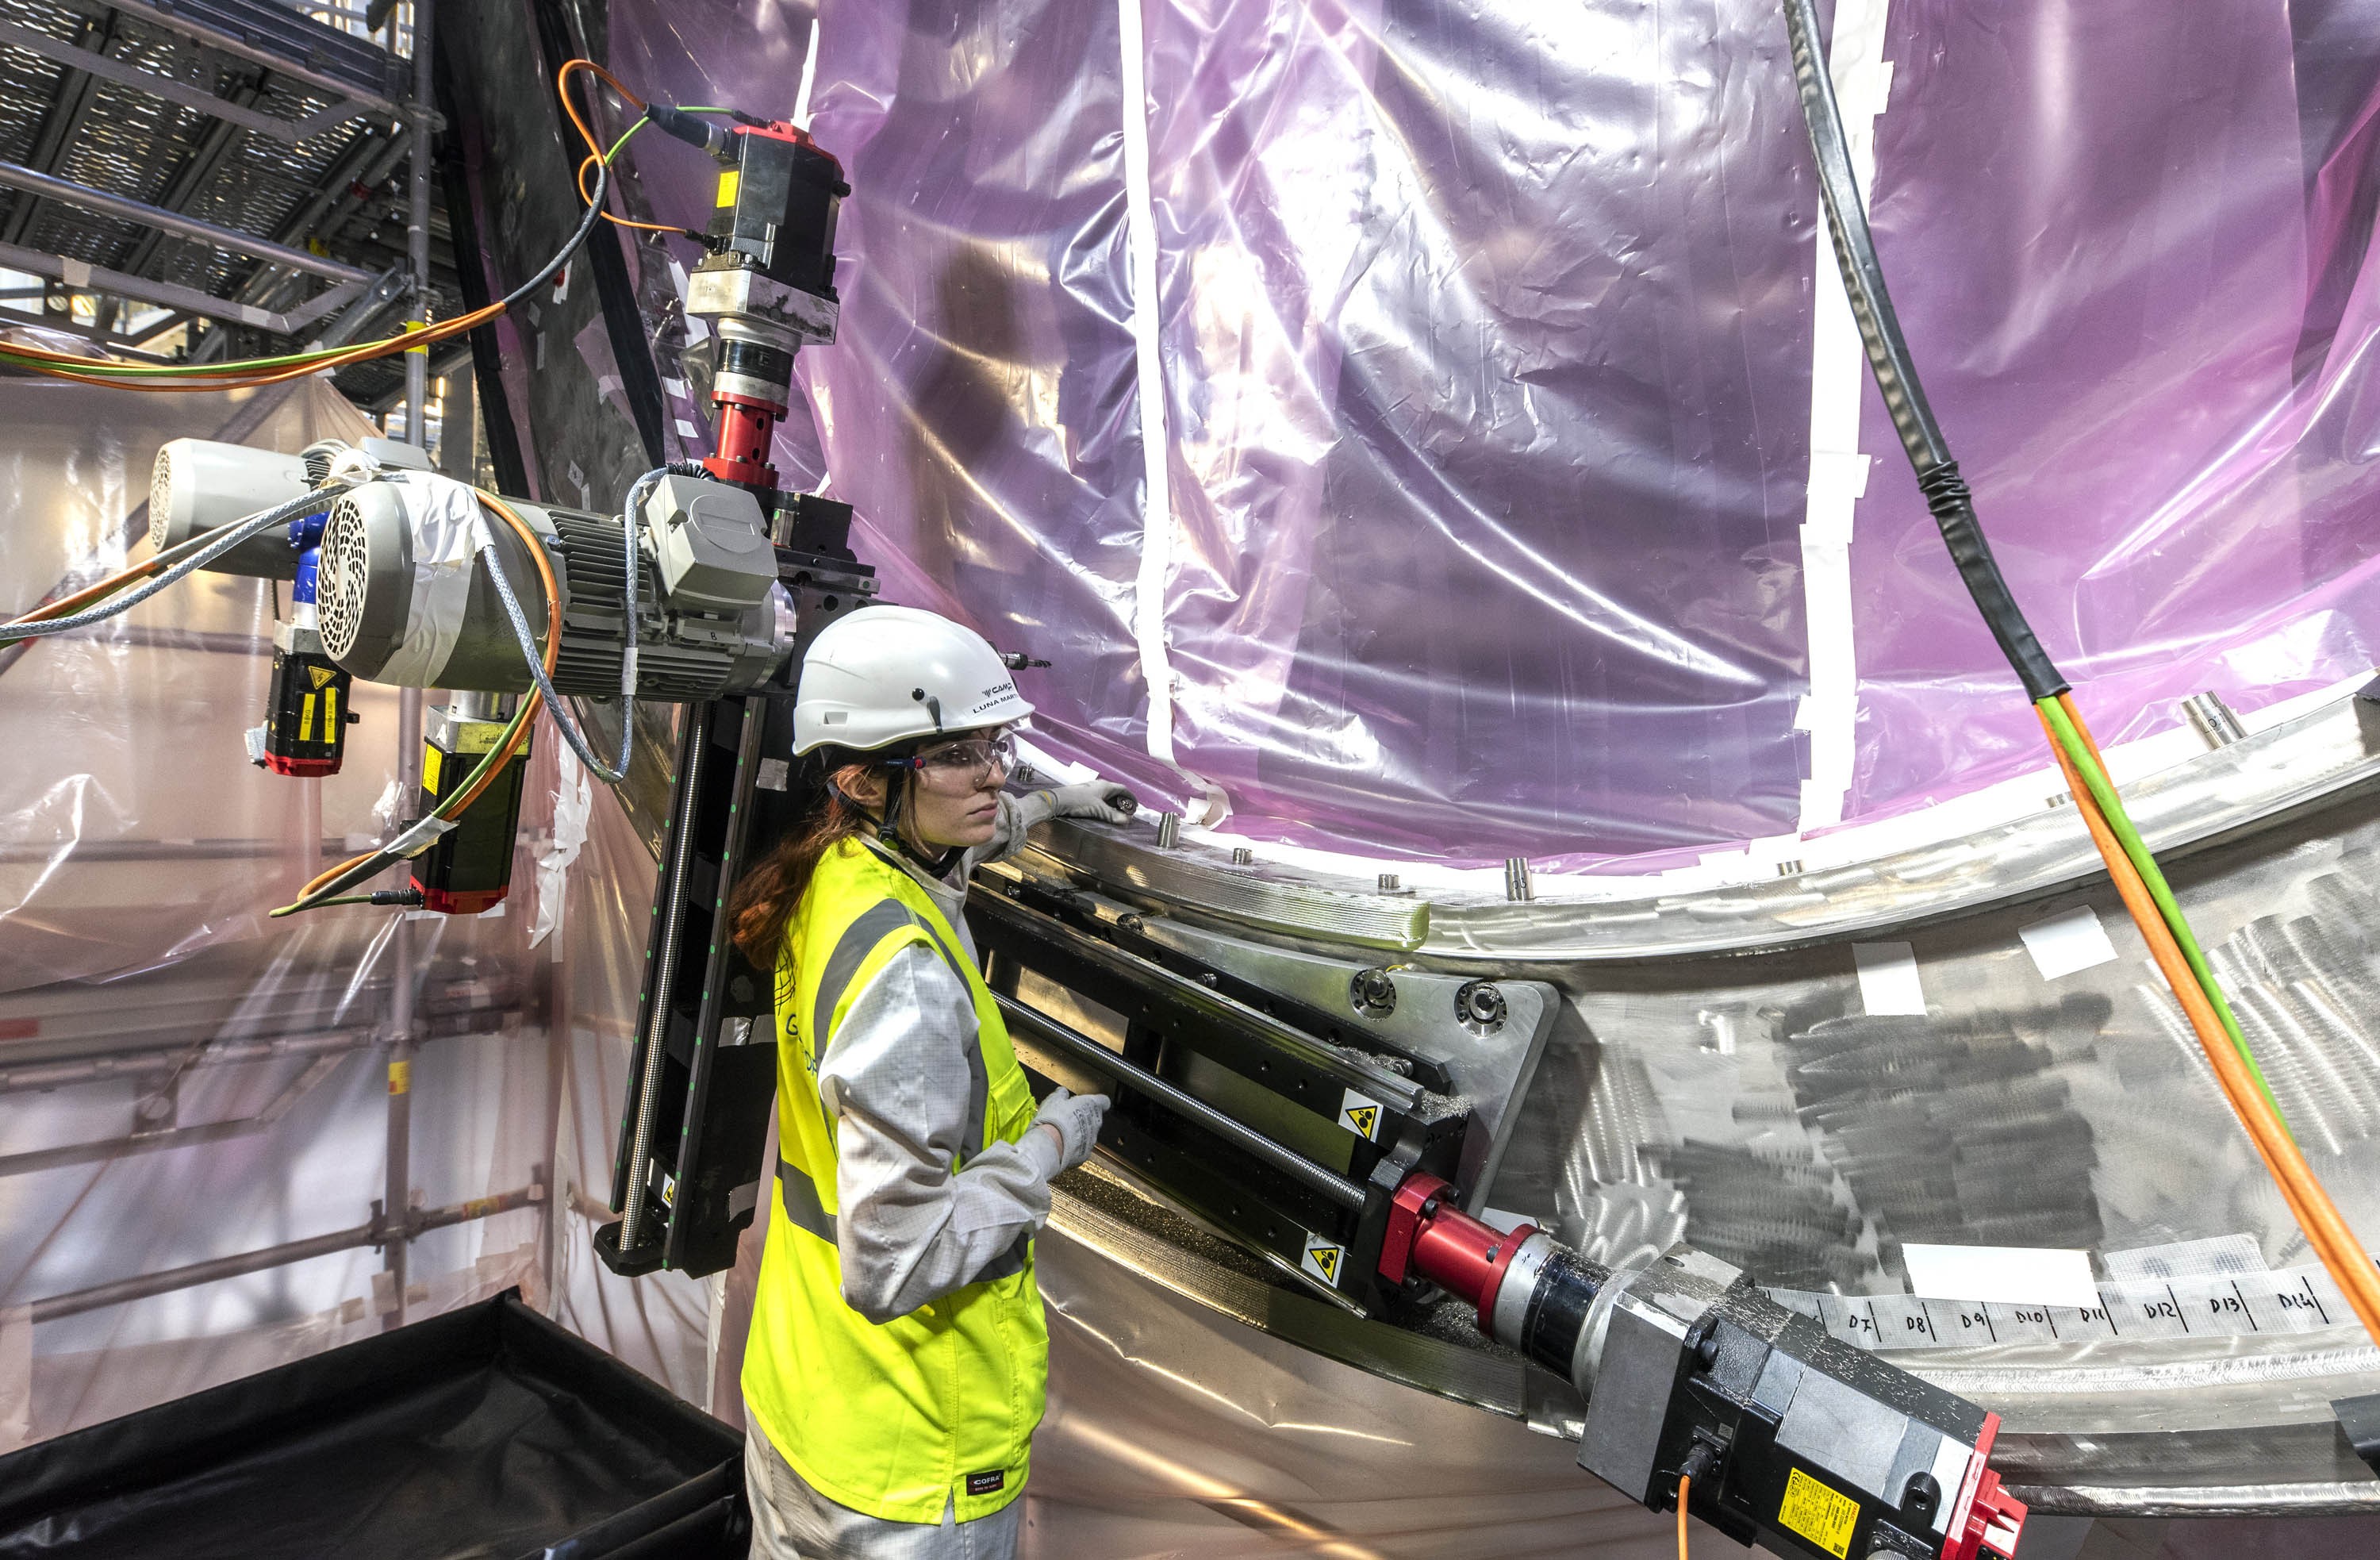
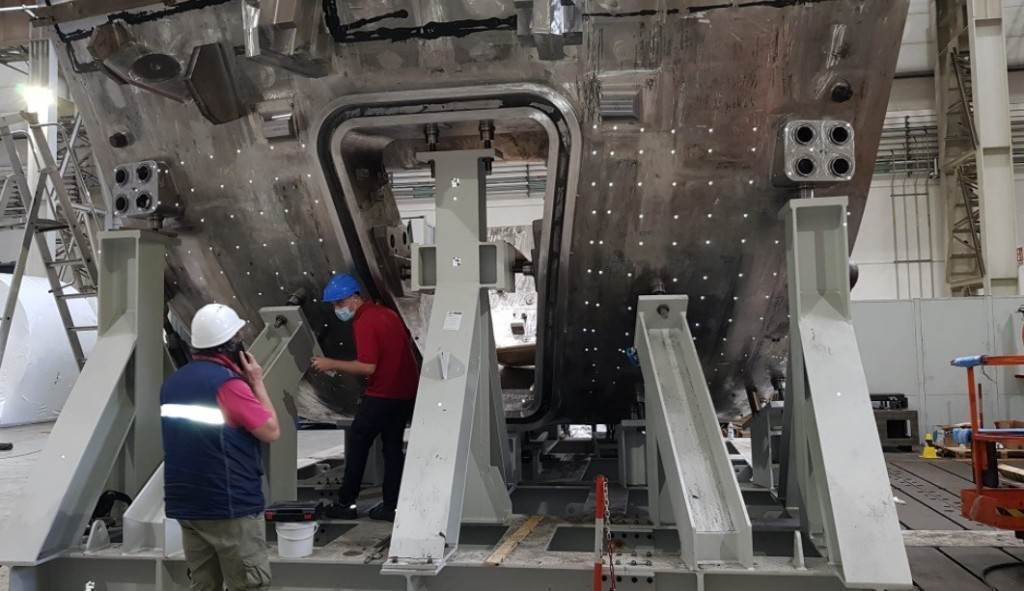
A wide range of metrology systems will be used during the assembly of the ITER machine such as laser trackers, total stations and photogrammetry, which will interface with dedicated software packages and measurement plans specific to the ITER requirements. The amount of measurement data generated during machine assembly will be immense.
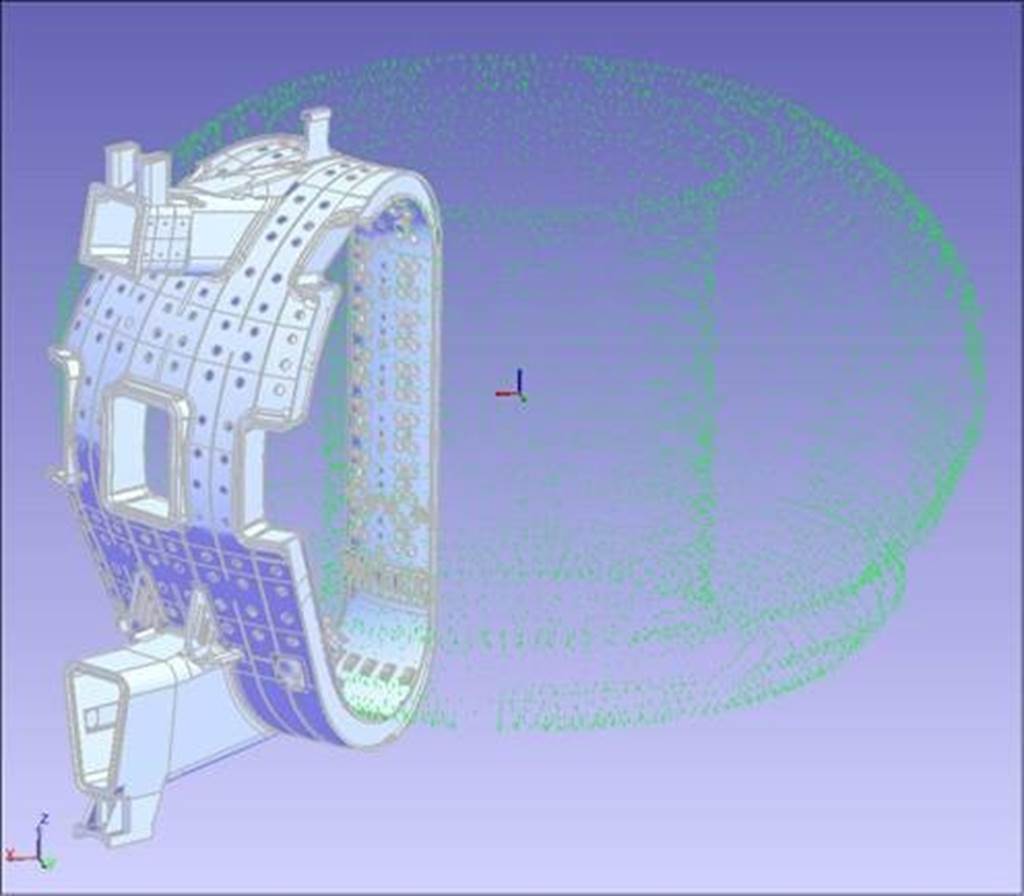
Optimization algorithms will be used to achieve the best possible configuration for machine operation by analyzing "as-built" geometry at each stage of the assembly and by modifying the alignment criteria to suit. This is especially important when defining the as-built magnetic axis of the machine and the subsequent alignment of components against this.
During the assembly phase and beyond, metrology processes ensure that the machine and its supporting systems are dimensionally compliant. This is critical for the successful operation of the ITER machine.













1-3 mm
assembly tolerances

2000
fiducial nests in the Tokamak Complex

0.2-0.4 mm
network uncertainty range
11
geodetic pillars on site


Heavy lifts, hidden efforts: behind the scenes of vacuum vessel installation


Tokamak assembly: The module has landed
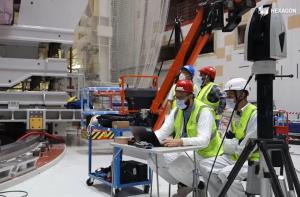

Metrology-assisted assembly at the ITER nuclear fusion project (Hexagon)


Largest tokamak component installed
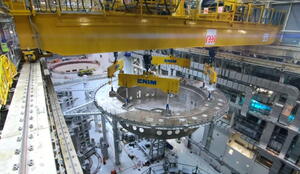

First machine component installed
Reference coordinates
PRIMARY SURVEY NETWORK
The primary survey network for the ITER site provides a global coordinate system for civil engineering works and the positioning of the buildings. It is based on 11 geodetic pillars that have been measured in relation to one another and to a wider GPS system, and which now provide a fixed reference base (or datum) from which more localized measurements can be made and calculated.
TOKAMAK GLOBAL COORDINATE SYSTEM
Inside of the Tokamak Complex a vast matrix of reference "targets," or fixed points, provides the physical manifestation of the global coordinate system. Metrologists can access the overall coordinate system from any location by measuring a small number of local reference points. The accuracy of the network has been measured within a global uncertainty range of 0.2 to 0.4 mm, allowing installation contractors to align components to sub-millimetre accuracy.
TOKAMAK PIT NETWORK
Inside of the concrete bioshield, target nests covering the full height of the walls are used to derive the vertical datum axis for machine assembly. As the pit becomes more crowded and lower pit wall targets are progressively hidden from view, targets in the port cell galleries will maintain lines of sight and play an important role in measurement tasks.
ASSEMBLY DATUMS
As machine assembly progresses, the as-built geometry of core components serves as a reference for further alignment activities. The cryostat base is aligned using the target nests of the Tokamak Pit Network; the toroidal field coils and cryostat lower cylinder are aligned in relation to the as-built position of the cryostat base; and the coordinate frame of the 18 toroidal field coils serves as reference for the final alignment of the vacuum vessel, the remaining magnet systems and the in-vessel components.
ALL ASSEMBLY PHASES
Metrology will continue to play an important role after the assembly of the core machine, as in-vessel components are installed in large numbers. Manufactured in plants around the world and shipped to ITER, several thousand components must be customized during assembly to achieve the demanding tolerances allocated to in-vessel systems. As a single example, the assembly of the blanket modules inside the vessel requires a survey of approximately 4,400 components; each one needs to be individually customized to deliver the required alignment.


